
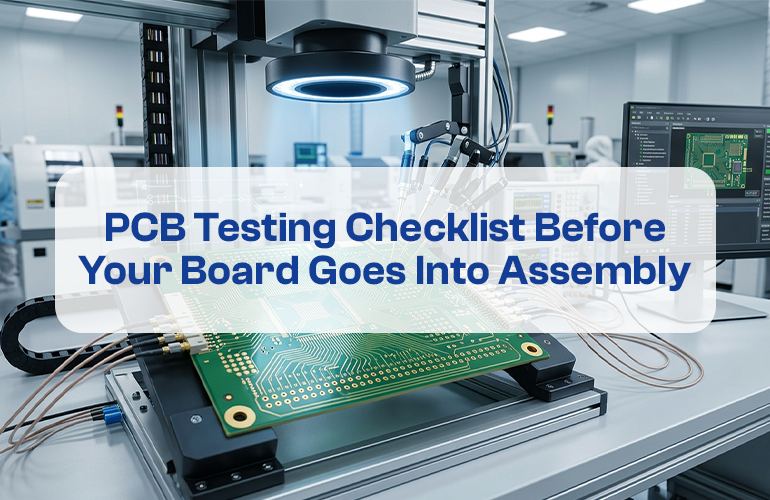
PCB testing is an important step before a printed circuit board moves into assembly. A board may look complete from the outside, but hidden defects can affect performance, reliability, and product life.
A proper PCB testing checklist helps identify issues early. This reduces assembly problems and improves confidence before components are mounted on the board.
Visual Inspection
The first step in PCB testing is visual inspection. This helps check the surface condition of the board, solder mask quality, silkscreen clarity, scratches, stains, and visible defects.
Visual inspection may look simple, but it can reveal important manufacturing problems. A clean and properly finished PCB is easier to assemble and more reliable in use.
Electrical Continuity Check
Electrical testing helps verify that current flows through the correct paths. It checks for open circuits, short circuits, and unwanted connections.
This step is especially important for prototype PCB manufacturing and small batch PCB production. If electrical faults are found before assembly, they can be corrected before components are added.
AOI Inspection
Automated Optical Inspection, also known as AOI, helps detect visual defects with imaging systems. It can identify issues such as track defects, spacing problems, missing features, and pattern errors.
AOI inspection improves consistency and helps maintain quality across multiple boards.
Flying Probe Testing
Flying probe testing is useful for prototypes and small batch PCBs because it does not require a fixed test fixture. It checks electrical connections directly on the PCB.
This method helps detect shorts, opens, and connectivity errors before assembly. It is especially helpful when designs are still changing.
Impedance Testing
For high-speed and controlled impedance PCBs, impedance testing is important. It helps verify that signal paths meet the required electrical performance.
If impedance is not controlled properly, the board may face signal reflection, data loss, or performance issues.
Contamination Testing
Contamination on a PCB surface can affect long-term reliability. Ionic contamination may create leakage paths or corrosion risks over time.
Contamination testing helps ensure that the PCB surface is clean and suitable for further processing.
Final Quality Review
Before assembly, the board should go through a final quality review. This includes checking dimensions, holes, copper quality, surface finish, solder mask, and documentation.
A strong final review reduces assembly delays and improves production confidence.
How True PCB Supports PCB Testing Before Assembly
True PCB offers PCB testing and inspection support to help customers verify board quality before assembly. Capabilities such as AOI inspection, flying probe testing, impedance testing, ionic contamination testing, copper track verification, cross-section analysis, peel strength testing, and solder float testing help improve reliability.
These testing processes make it easier to detect issues before components are assembled, reducing the chances of failure during product development or final use.
Conclusion
PCB testing before assembly helps prevent costly mistakes. Visual inspection, electrical testing, AOI, flying probe testing, impedance testing, and contamination checks all play an important role.
A proper PCB testing checklist ensures that the board is not only manufactured but also ready for reliable performance in the final product.